 S2K Commerce - Products Dropdown
 Web Content Viewer

How to Paint Wall Stripes
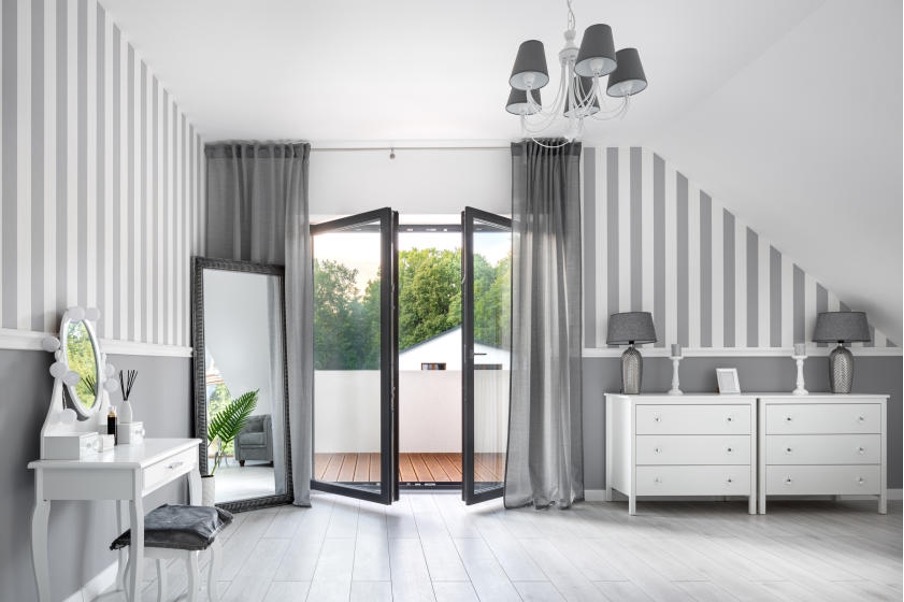
Adding stripes to your walls is a faux-painting technique that gives a wallpaper-like effect to any room in your house. Using paint as opposed to wallpaper lets your creativity flow. Paint gives you the freedom to create original, personalized vertical or horizontal patterns that reflect your taste and lets you customize the colours to match your décor.
- Step 1: Decide on Stripe Design and Choose Colors
Before you start, make a design plan. Will you use stripes just on an accent wall? Or will you carry the stripe motif throughout the whole room? Do you want a chevron pattern, crisscrossing, zigzags? Depending on the room’s size and the existing design elements within the room, you can decide what will look best in your space.
Next, it’s time to choose a colour scheme. It’s common to choose two shades of the same colour, but you don’t have to limit yourself. For a bolder effect, try contrasting colours that complement one another. For a more subtle striping effect, use the same colour for the basecoat and the stripes in different finishes. Use an eggshell finish for the basecoat and a semi-gloss for the stripes. If you use this technique, the stripes will be more noticeable when you use a darker colour.
You can be more contemporary by using stripes in varying widths. You’ll also need to decide whether you want vertical stripes or horizontal. Striping a room horizontally creates a cozy effect while vertical stripes can make ceilings look taller.
- Step 2: Prepare the Room
Scrape any loose paint, patch any imperfections and sand rough or glossy areas then clean the walls with warm, soapy water and a cloth. Let the surface dry completely before painting. It’s best to move furniture out of the room but, if you can’t, just move it away from the walls and cover with drop cloths or tarps.
Lay canvas drop cloths below the walls you’re painting stripes on. Canvas cloths stay in place better than plastic ones. Use masking tape to attach the cloths to the baseboard or bottom of the wall so that they don’t shift around while you’re painting. This reduces the chance of getting paint on your floor.
SAFETY ALERTS!
Always paint in a well-ventilated area. Open the windows to make sure you’ll have proper ventilation.
Wear goggles, protective gloves, and clothing when painting.
- Step 3: Paint a Base Coat
Once you’ve prepped the room, it’s time to apply the base coat. The base coat should be the lighter of the two paint colours you’ve selected. Using a paintbrush or roller, apply a coat of True Value EasyCare® Ultra-Premium Interior Paint in an eggshell finish and the colour of your choice. Allow the area to dry completely for at least 24 hours before painting the stripes.
- Step 4: Measure, Mark and Mask Out Stripes
Decide on the stripe orientation, width, and where to start and end your pattern. How wide your stripes will be is up to you. You can make your stripes uniform or vary the widths to add visual interest to your striping effect. For example, alternating 3" stripes with 5" stripes gives the room a unique, contemporary feel.
Once you’ve decided on the direction and width of your stripes, you’re ready to start masking the wall. It’s a good idea to start the first stripe in an inconspicuous place, such as behind a door, just in case the first stripe isn’t exactly perfect on the first try.
To create vertical stripes, use a ruler or yardstick and a pencil to measure and mark even intervals along the top edge of the wall. Do the same along the bottom of the wall, marking the exact same measurements as the top. Continue along the length of the entire wall. Use painter’s tape to mask out vertical lines starting from the top marks to the bottom marks. These will form the outside edges of each of your vertical stripes.
Horizontal stripes are made in a similar fashion. Measuring with a yardstick, mark where you want the topmost stripe to be from the ceiling. With one hand, hold the yardstick against the marking you made on the wall. Use your other hand to place a level horizontally against the yardstick. Adjust the yardstick until it’s level and trace a line with your pencil along the top of the yardstick. Continue creating this line in the same way across the length of the wall.
Using the same technique, create the rest of your horizontal stripe pattern as wide as you want your stripes to be. Unless you’re going for a specific design that calls for irregular-sized stripes, be sure that each stripe is the same width.
Apply painter’s tape along the lines you made in pencil on the “outside” of the lines. Score the outer edge of the tape with your fingernail or a small knife so the paint will not bleed under the tape. Continue the process until you’ve masked all the stripes. This will keep you from painting over the lines and ruining your base coat.
- Step 5: Paint Stripes
Using a small-to-medium-sized paint brush, or mini-roller, carefully apply the second colour or finish, making sure to keep within the lines you made with tape. Let the paint dry completely before removing the painter’s tape. Pull the tape away from the wall gently in a downward, angled motion. This will give you a clean paint line without damaging your freshly painted wall.
Congratulations! Take a step back and admire your new walls.
Source: True Value


