S2K Commerce - Shopping Cart
Actions
S2K Commerce - Products Dropdown
Actions
Web Content Viewer
Actions
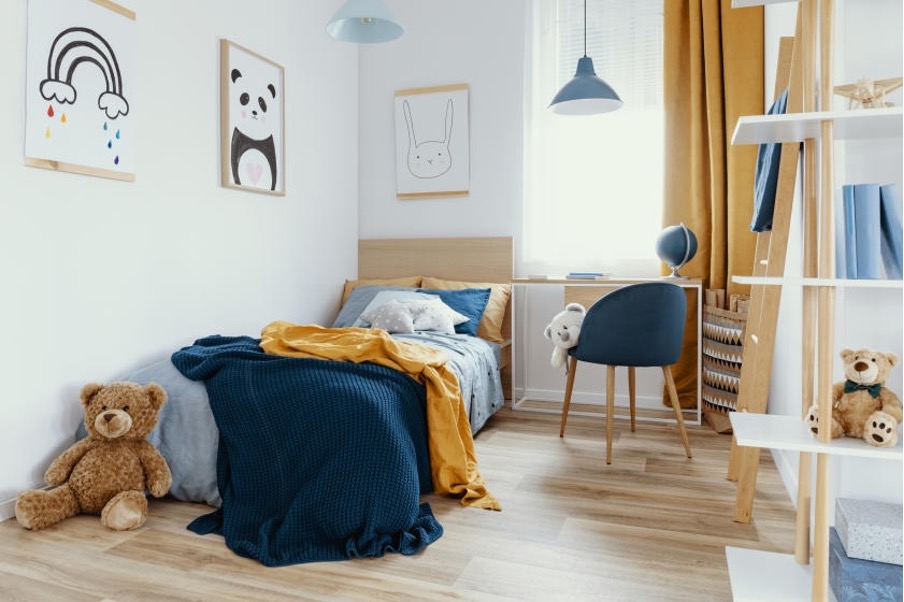
Painting Ideas for Kids’ Rooms
If any rooms in the house call for imaginative spin, it’s your children’s. Take advantage of the opportunity and create the perfect personal hideaway that your kids will love. Not sure exactly how to start? Keep reading for some decorative painting ideas for kids’ rooms and tips on how to unleash your inner artist. Don’t forget your number one resource — look to your kids for inspiration.
Step 1: Choose a Theme

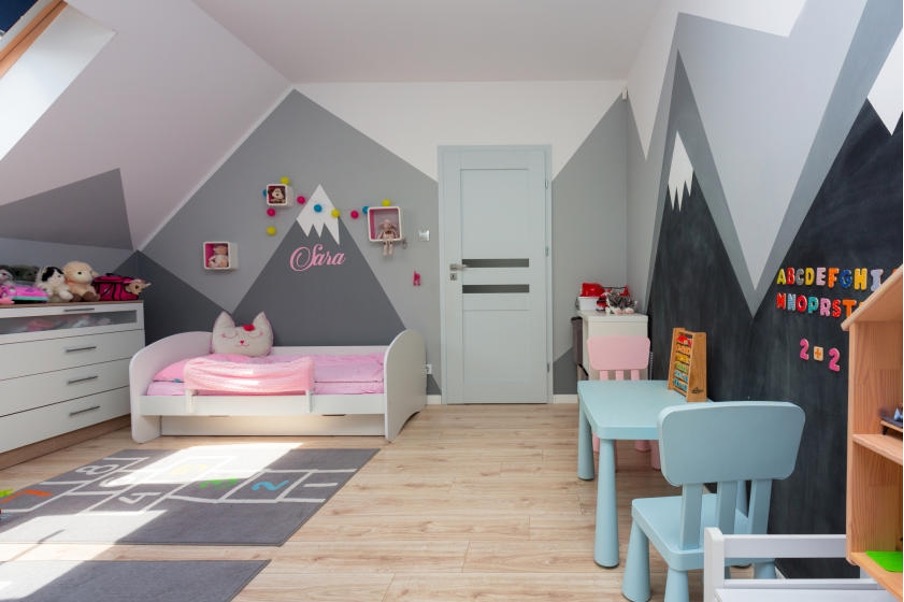
Creative painting ideas for kids’ rooms often come straight from the children themselves. So, before you begin, plan out your project, keeping in mind your child’s interests. Ask them for their input. Many kids have a favourite fictional character from a movie or have special interest in sports, art or other activities that you can use to create a custom look that suits their personalities.
Create a sports-themed room or try a space theme. Get decorative ideas from your child’s toys, books or check interior design and home-themed magazines and websites for ideas. Consider doing a mural specific to the room’s theme. The mural can depict a favourite event or scene from a book or film or a specific location, such as a beach or forest. If you’re unsure of your artistic painting talents, you can use stencils or decals to help you achieve the design you’re looking for.
HELPFUL TIP
You don’t have to be an actual artist and work freehand to paint a mural. Simply use a projector to project an image onto the wall and trace it out with a pencil. Then add paint.
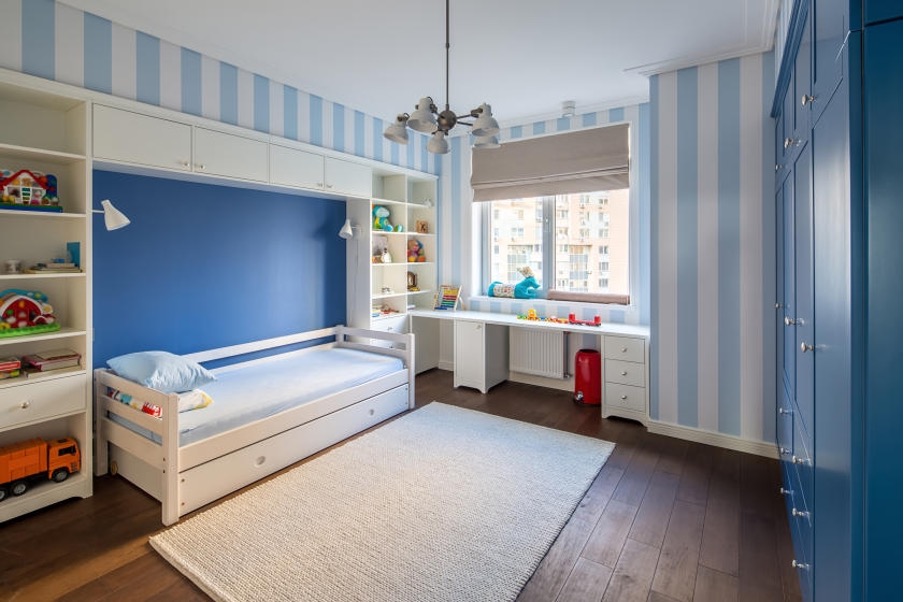
Don’t limit yourself though. Painting ideas for kids’ rooms come in all shapes and sizes. You can also paint walls with patterns, stripes, or other decorative painting techniques. If you feel a theme won’t work or want to keep the room’s design simple but appealing (kids go through phases and outgrow favourites) start with just painting an accent wall. You also try accenting a room with borders.
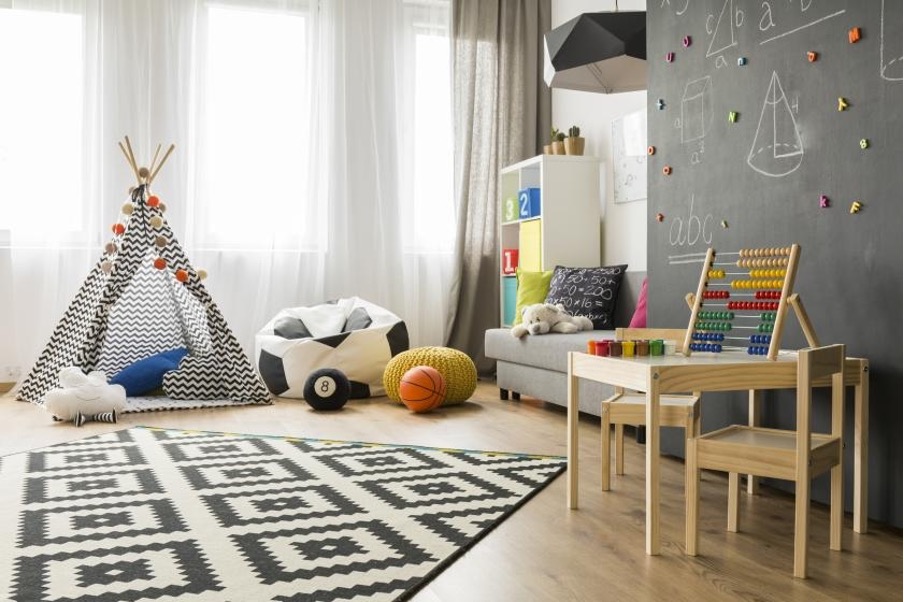

Try something a little different and “outside the box” by using specialty paints, such as chalkboard paint or magnetic paint. Each of these types of paint does exactly as its name implies. Chalkboard paint provides a surface that can be written on with chalk and erased with a damp towel. Magnetic paint creates fun walls on which magnets will adhere. Follow manufacturer instructions carefully for optimum results.
Remember though, the time to start stenciling, adding borders, decals, your mural idea, or any other creative feature to the walls is after you have painted a base coat on the walls and the coats have dried.

Step 2: Choose a Child-Friendly Colour Scheme
Kids bedroom painting ideas revolve around choosing fun colours. If the theme you’ve chosen doesn’t call for specific colours, choose a colour or colour scheme for your child’s room. Here are some tips on the way colour affects moods and perceptions:
- Green. The colour of nature, green is said to reinforce self-esteem and suggest hope, rest and calm.
- Blue. Shades of blue, like the ocean and the sky, evoke feelings of calm, tranquillity, and spirituality. They’re good choices for a restful bedroom.
- Red. Used as an accent to neutral colours, red can add some brightness to a kid’s room.
- Yellow. Cheerful and dynamic, yellow is a great choice to brighten and warm any room. It’s also said to be the colour of intellectuals.
- White. White represents peace, faith, joy, cleanliness, and purity. It reflects light, so it can make a room appear bright, cool and spacious. But it’s also the hardest room colour to keep clean with little ones around.
- Purple. Various shades of purple evoke different feelings. Children typically respond to the energy of bright purple.

Don’t forget that if you’re changing the wall colours in the room, you may also need to update your child’s furniture. You can do this by updating the furniture with a little paint at another time.
Step 3: Prepare the Room
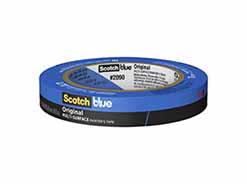
Before painting or doing anything to the walls, you need to prep the space for painting. Remove the furniture from the room before you start. If you can’t get all the furniture out, move it to the centre of the room and cover with drop cloths. Place drop cloths or tarps on the floor and remove window coverings, switch plates and outlet cover. Use painter’s tape to protect windowsills, baseboards, door hinges and the ceiling perimeter.
Properly cleaning and repairing the walls is extremely important since paint doesn’t adhere to dirt. Using a sponge or cloth, wipe down your walls with mild detergent and water, letting it dry completely. If the walls have any cracks, holes, or other damage, apply spackling compound with a putty knife and then sand with fine sandpaper once it dries.
HELPFUL TIP
If you need to make repairs, add an extra day to your plans to give the compound plenty of time to dry.
Step 4: Prime the Walls
Properly cleaning and repairing the walls is extremely important since paint doesn’t adhere to dirt. Using a sponge or cloth, wipe down your walls with mild detergent and water, letting it dry completely. If the walls have any cracks, holes, or other damage, apply spackling compound with a putty knife and then sand with fine sandpaper once it dries.
SAFETY ALERT!
Open the windows to make sure you’ll be priming and painting in a well-ventilated area.
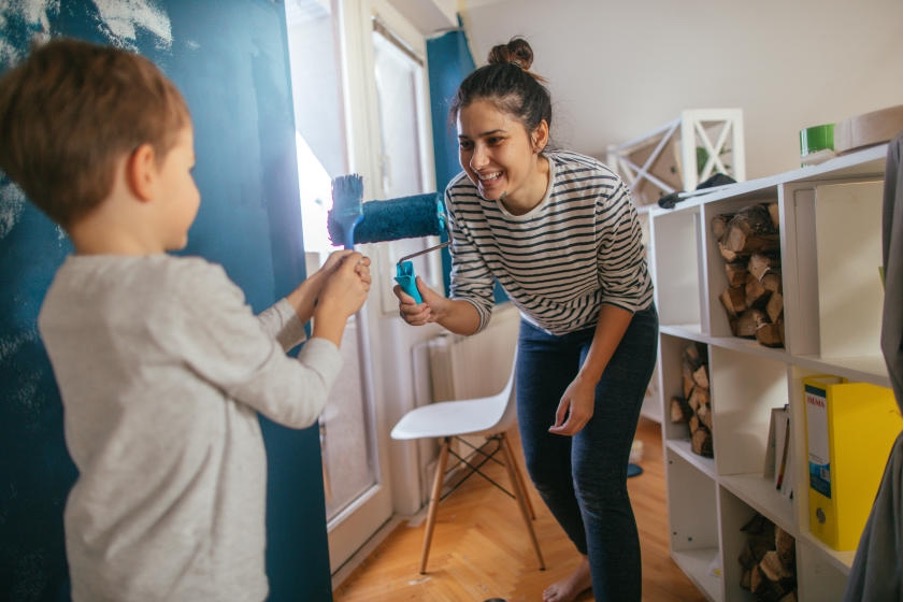
Step 5: Paint
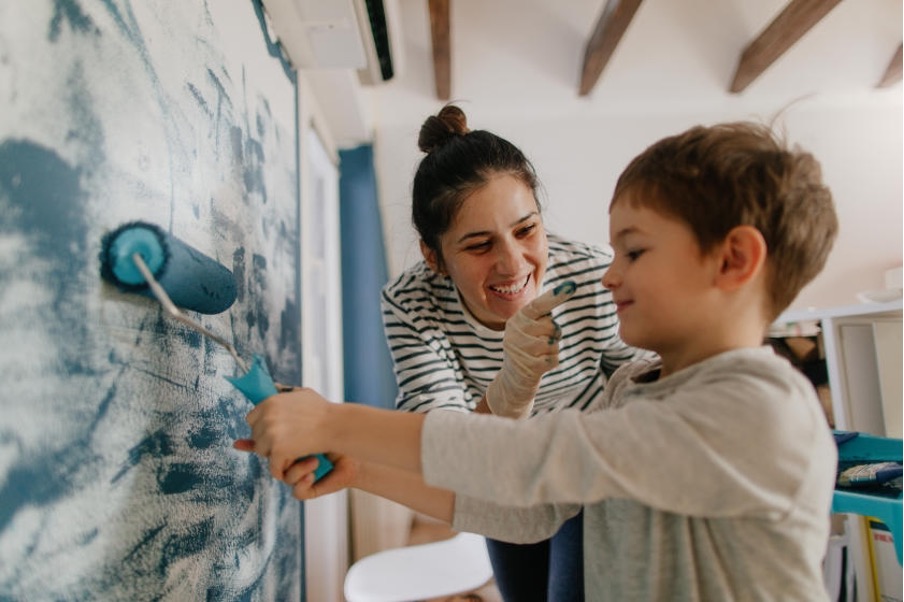

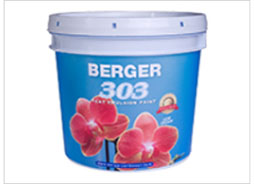
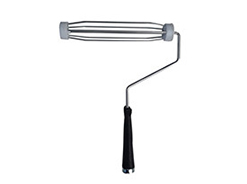
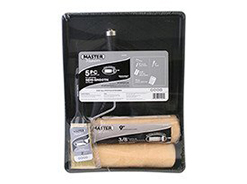
Apply EasyCare® Ultra-Premium Interior Paint using the same technique you used for priming. If necessary, apply a second coat. You don’t have to let the paint completely dry between coats, but the longer you wait, the better your results will be.
HELPFUL TIPS
To prevent the paint from drying unevenly, avoid stopping while you’re in the middle of painting a wall. Touch up any missed spots when the paint is still wet to ensure an even look.
Before you begin painting a new wall, make sure you have enough paint left in the can to finish the entire wall. The same paint colour can vary slightly from one can to another, so try not to use two different paint cans on one wall.
Use a brush to do wall brushwork in areas your roller can’t reach, like the corners and next to the doors, windows and moulding.
Step 6: Clean Up
Pick up your drop cloths or tarps and close your paint cans. Dispose of used paint or sealant cans appropriately. Cleaning paintbrushes and other tools can be made easy with warm and soapy water. Thoroughly rinse your roller covers and brushes in water until the water runs clear, then place them in a brush/roller spinner, if you have one, to remove excess liquid. Store in their protective sleeves or hang them on nails or hooks. Pick up drop cloths carefully, making sure you don’t spread around any paint that may have gotten on them. Next, remove painter's tape at a 45-degree angle to avoid removing any fresh paint. Remember that the longer it stays on, the harder it is to remove.
Nice work! You’ve created a colourful and cozy place where your kid can kick back.
Source: True Value