S2K Commerce - Shopping Cart
Actions
S2K Commerce - Products Dropdown
Actions
Web Content Viewer
Actions
Building a Planter Box with Agent Sasco
Agent Sasco sure does make building planter boxes look easy! If you’re thinking of building your own, start with your plan. Research ideas and draw up a design plan for your planter boxes. Then you’re ready to execute.
Let’s get started!
Get all your tools and materials.
Tools & Material List
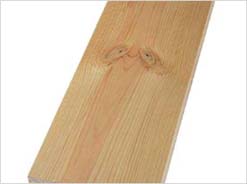
- 2 In. X 4 In. X 16 Ft. Treated Southern Yellow Pine
- 2 In. X 8 In. X 16 Ft. Treated Southern Yellow Pine
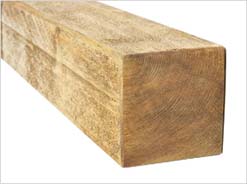
- 4 in. x 4 in. x 14 ft. Southern Yellow Pine
- 3in dry wall screws, thin
- 3in dry wall screws, coarse
- Miter Saw
- Circular saw
- Drill
- Impact Driver
- Potting soil
- Seeds such as: Escallion, tomatoes, sweet peppers, peppers, cabbage, lettuce, callaloo, basil
- Wood Chips Red Mulch
- Wood Chips Plain/Brown Mulch
- Water Bell Drinker
- Fertilizer Growing Formula
- Fertilizer Production Formula
- Fertilizer Flowering Formula
- Fertilizer Initiator Formula
- Agree 50wp Insecticide
- Fertilizer Lawn Sulphate Of Ammonia
Tip 1: Safety first! Protect yourself with safety gear.
Tip 2: You already have your design plan so tick decide on use of space and layout on your check list.
In order to maximize the space, Sasco decided it would be best to have a T-shaped design where the planter boxes would be lined along the perimeter. Do you remember the fence that was also being built in episode 1 Well, Sasco made it a multitasking affair, by attempting to work on both these projects at once! Talk about innovation.
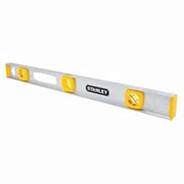
Tip 3: Level the wood for the planter box with the surrounding wall - their aim was to have it be 4 feet all round. Sasco also made sure to have two drills handy. The reason for this was to ensure no time was wasted changing the bits. Have one drill for driving, one for drilling.
Tip 4: Don’t leave any space in corners when building the planter box. Be sure there’s no room for creepy insects like scorpions or any room for moisture.
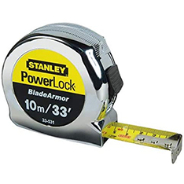
Tip 5: Cut the wood using the accurate dimensions measured. Remember to measure twice, cut once.
Once the wood has been cut, align and drill!
PRO TIP: It is important to have the outline/idea of how the wood will be aligned, in mind beforehand.
Tip 7: Use the pry-bar and the level to ensure that the pieces of wood are aligned properly.