S2K Commerce - Shopping Cart
Actions
S2K Commerce - Products Dropdown
Actions
Web Content Viewer
Actions
How to replace a light fixture in your home
Replacing outdated lighting fixtures with more aesthetical designs adds instant appeal to any space and adds value to your home. Follow the steps below to guide you on how to replace your outdated fixtures:
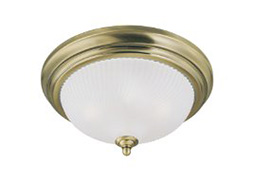
1. Choose New Fixtures
Remove all outdated or damaged light fixtures within your space. Replacement fixtures do not necessarily need to be modern in style. There are a wide range of antique designs and old-fashioned styles to choose from. In any decision that you make, ensure that the fixtures you have chosen fits in the existing design and decorum of the space. Likewise, if you are doing a makeover, ensure that it enhances and complements the new look and feel. Your space should match your style.


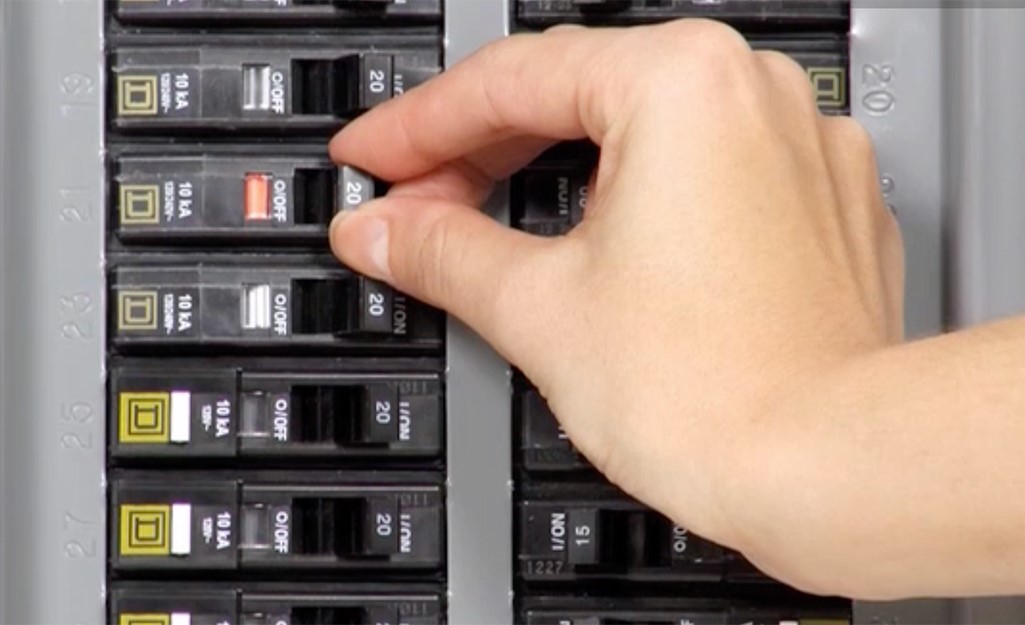
2. Turn Off Power
When conducting any repairs or updates that utilizes electricity, always ensure that power is turned off. So, we will start by turning off all the power in the lighting fixture. If you are uncertain which breaker controls the light fixtures that you are using, shut off the power to the whole house. Ensure that all circuits are electricity free before touching any wires or terminals.

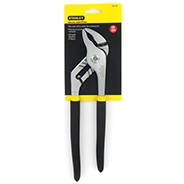
3. Detach existing fixture
Remove the fixtures’ shade and any bulb in the fixture. Always have a screwdriver on hand to remove any fastening screws from the fixture that is attaching it to the wall. A pair of pliers is also handy to have just in case some screws are hard to turn. Once the fixture is free, gently, and steadily disconnect it from the wall or ceiling. Be careful not to yank any wires while disconnecting.
Enlisting the help of someone to assist you will make the job easier and reduce the risk of the falling or causing any damage or injury. They will be able to assist you in holding the fixture as you disconnect the old one and attach the new fixture.
After safely unscrewing and freeing the fixture from the wall, unscrew the wire nuts that is connecting fixture wires to the circuit wires. Now, untwist the connected wires.
Set the old fixture aside and ready the new fixture. Before installing the new fixture, carefully read the manufacturer’s instructions to ensure that you will be installing it correctly. All the mounting parts you need should be supplied with the fixture in the box.

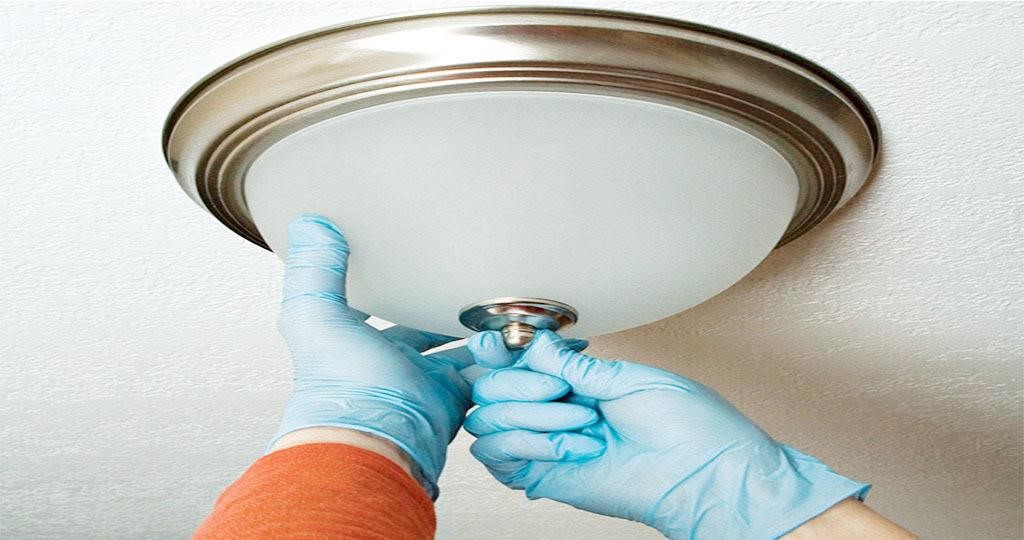
4. Attach new fixture
You should be able to install new fixtures in the same way as you removed the old fixtures. If not, follow the instructions of the manufacturer and use all the supplied parts that come with the fixture. Hold the fixture up to the junction box in the hole and check to ensure that everything will fit correctly.
It is good to have a power drill on standby, just in case you need to drill new starter holes for any fastening screws to attach the new fixture. Always measure and mark the screw locations on the wall with a pencil before you drill to ensure that you are drilling correctly.
Ensure that you have at least a ½” to ¾” of bare wire on each wire end, on both the fixture and circuit. If not, use wire strippers to remove the wire insulation, so that you have enough wire to twist the two wire ends together. Connect the fixture wires: black or red (hot), white (neutral) and ground (usually plain copper wire or green-insulated wire) to the corresponding circuit wires, in that order. Follow the directions of the manufacturer closely in case the fixtures require different connects. Twist the wires together clockwise. After connecting the wires, push all connections into the hole of the junction box.
Once all connections are made, install the new fixture based on the manufacturer’s instructions. It is typically a matter of just screwing the fixture to the junction box or wall, based on the fixture.
5. Wrap up
With the fixture attached and correctly installed, you can now screw in the bulb or bulbs and reinstate power to the room or house. Then turn on the lights. Once the light comes on, you have correctly connected all wiring and is finished. If the light does not come on, shut off the power once again and check all connections to see if anything is not fastened or connected properly.
Well done! The rooms in your home should now shine with new light, charm, and elegance.
Source: True Value