 S2K Commerce - Shopping Cart
 S2K Commerce - Products Dropdown
 Web Content Viewer
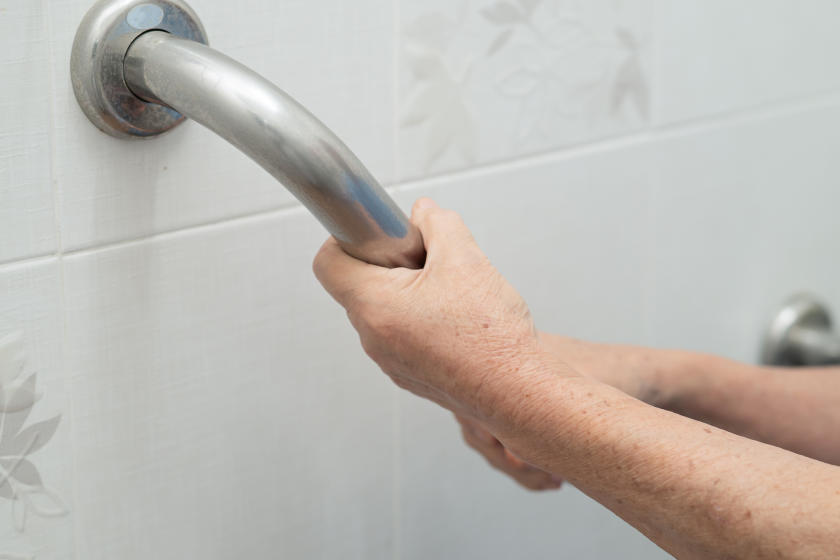
How to Install Bathroom Safety Grab Bars
Step 1: Position the Safety Grab Bar
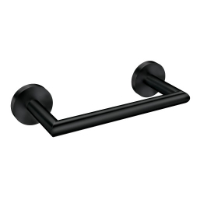
Decide on the best position and location to install a safety grab bar or multiple bars in your bathroom, depending on your needs. The elderly or disabled may be best served by having more than one bar to easily get in and out. Common positions are horizontal bars either on the front wall of the shower/bath area above the faucet and faucet control, on the back wall opposite the faucet, a vertical bar on the outside edge of the shower enclosure for easy entrance, or a diagonal bar on the longest wall of the shower for aid in and sitting and standing. Around the toilet, it is ideal to have at least one bar installed on an adjacent wall.
Keep in mind when deciding on positioning that the strongest support comes from installing the bar’s hardware into wall studs. Generally, wall studs will be 16” apart on center. For this reason, 16” or 32” grab bars are ideal size choices. Horizontal safety grab bar height, generally, should be anywhere from 32” to 38” from the bottom of the tub or from the bathroom floor by the toilet.
Try placing each bar where you think it is needed. Ensure that a horizontal or vertical bar will be installed so that it is easy to grab when entering the bathroom. Sit in the dry tub or shower to ensure that a diagonal bar will be within reach and provide maximum stability when sitting or standing.
Step 2: Mark Anchor Points
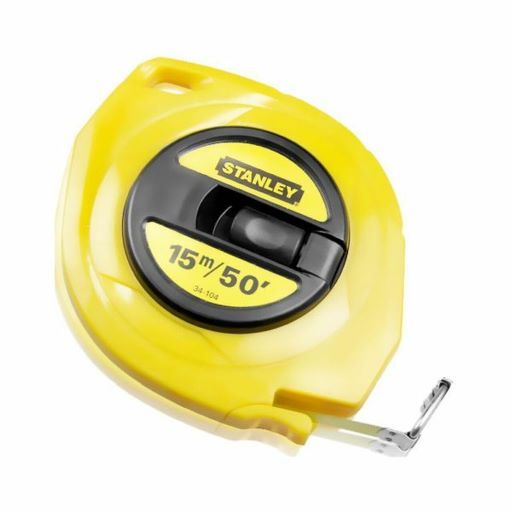
Determine the grab bar’s anchor points. It is recommended that you use an electronic stud finder to determine stud locations. Stud finders often won’t work though on a tiled wall. You can also try knocking on the wall to locate studs; use your hand to lightly knock along the shower wall. The parts of the wall between studs will produce a hollow sound while knocking on top of the studs will create a duller thud. You will then know the approximate location of the stud. Use a tape measure to measure from the bathroom floor or the floor of the tub/shower to the desired height between 32” and 38”. Mark the studs’ location with a piece of painter’s tape, an erasable marker, or another nonpermanent method, matched to where your anchor points will be for each of the mounting flanges.
In most cases, you will need to install wall anchors for sturdy installation of the bar, in addition to the bar’s manufacturer-provided hardware. For example, usually you will be able to install only two of the three screws needed to secure the mounting flange to the wall directly into the stud. In this case, you will need to use a wall anchor, such as a plastic anchor or a toggle bolt for the last screw.
SAFETY ALERT!
Do not install a safety grab bar if you cannot locate and attach the bar to wall studs for support.
Step 3: Drill Hardware Pilot Holes
Use a cordless drill to create pilot holes for the safety grab bar’s screws or wall anchors. If your shower walls are tiled, you will need to use glass/tile drill bits. These are designed to penetrate tile without cracking or otherwise damaging it. Place the bar mounting flanges on the wall where you marked the stud locations to precisely match the marked anchor points to the screw channels on the flange. Remember to make the pilot holes slightly smaller in diameter than the provided screws or anchors.
HELPFUL TIP
Consult the provided installation instructions to double-check that the safety grab bar will be installed properly as different manufacturers may require specific installation steps.
Step 4: Install Mounting Hardware
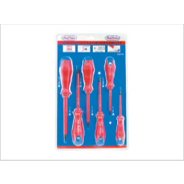
Now install the hardware to fasten the safety grab bar’s mounting flanges to the wall. Use a screwdriver to tighten the provided screws through the appropriate screw channels, through the pilot holes in the drywall or shower wall, and into the wall stud underneath.
When using wall anchors, you will complete a similar process but you will need to use plastic anchors or toggle bolts as your anchors. Plastic anchors or toggle bolts can be used for the third screw when the two other mounting flange screws have been drilled into the wall stud.
Step 5: Finish Up
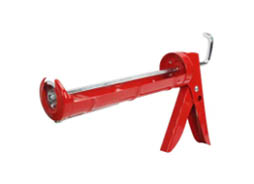
Finish by fastening the bar to the mounting flanges that were just secured to the wall. Remember to follow all instructions provided by the manufacturer. Pull strongly on the bar to ensure it is secure and can properly withstand a person’s weight. When installing a grab bar in the shower, use a caulk gun to apply a bead of silicone caulk around each of the bar’s mounting bases to create a watertight seal.
Congrats! You’ve now made your bathroom a safer space by installing safety grab bars.
Source: True Value


