S2K Commerce - Products Dropdown
Actions
Web Content Viewer
Actions
Modern Builder – How to Remix Plastic Chairs with spray paint
Weather and sun can fade your plastic patio chairs’ appearance over time, but that doesn’t mean you have to throw them out and replace them. You can use spray paint to renew and brighten them up. This is a simple weekend project for anyone with any level of DIY experience. Just follow these steps & tips below from our Modern Builder & get the job done right.
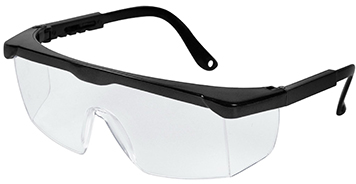
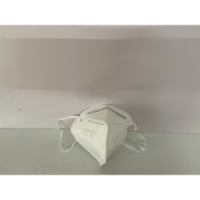
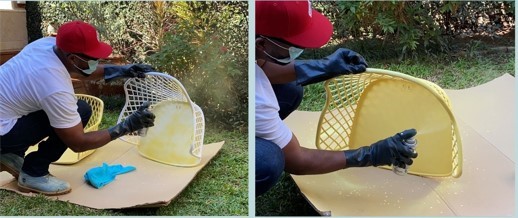
SAFETY TIP
When using spray paint and primer, wear safety glasses and a dust mask for protection from paint mist.
Step 1: Clean the chair
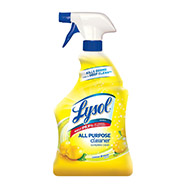
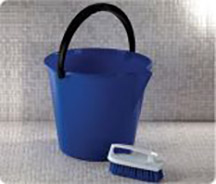
Wash plastic furniture thoroughly, using hot water, all-purpose cleaner and a sponge. If furniture has been outside for a long period of time or has stubborn stains from mold or mildew, use a cleaner with ammonia. Spray it down from all angles using a garden hose. Dry each plastic chair using a towel and then let each sit to air dry completely.
MBTIPS
Clean new plastics with a paint thinner and older plastics with an ammonia-bases cleaner.
Step 2: Prepare plastic chair for painting.
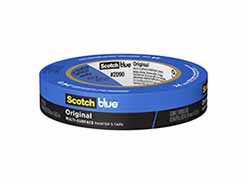
Prepare before painting your plastic chairs by covering any non-plastic surfaces, such as metal legs, with painter's tape. Choose a good workspace with plenty of ventilation, preferably outside, and cover the floor or ground with drop cloths or newspapers.
Some plastic chairs may require a light sanding before painting, particularly if they have been painted before. You only need to lightly scuff the surface so that the primer and paint will adhere well. Use a piece of fine-grit sandpaper or a sanding sponge to go over the entire surface to be painted. Before sanding, test out your abrasive on an inconspicuous part of the chair to make sure that it doesn’t create visible and irreparable scratches. If you’re unsure, avoid sanding and just skip to priming.
MBTIPS
A well-ventilated location will protect you from paint fumes. Outdoors is best, otherwise, open as many windows as possible and use a fan while spraying and drying.
Step 3: Prime the chair
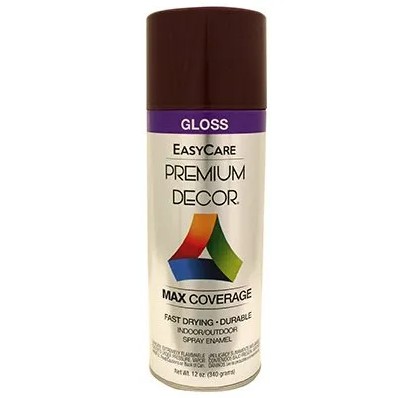
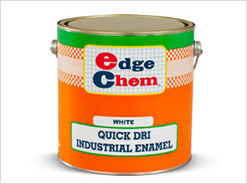
Use an outdoor primer formulated for use on plastic, such as True Value EasyCare® Premium Décor Spray Enamel. Start by shaking the can thoroughly and then spraying the entire chair, applying in a sweeping motion about 12 to 18” from the surface.
Let the primer dry for the time recommended on the packaging. Priming your chair allows you to paint the chair using any kind of spray paint. This is helpful if you want to use a particular color not available in paints made for plastic.
HELPFUL TIP
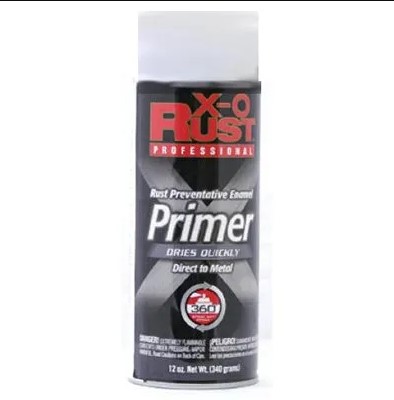
You can also skip priming by painting with H&L Rapid True Value X-O Rust Paint & Primer in One.
MBTIPS
Test your spray paint. Try a practice spray on a piece of scrap material in the same surface as your project.
Step 4: Apply multiple thin coats. Sweep the can across the project, beginning and ending each coat off the side.
Apply a thin coat of paint using a can of X-O Rust Paint & Primer in One or EasyCare® Premium Décor Spray Enamel (satin finish is ideal for plastic). Hold the can at least 12" away and spray in a sweeping motion. Let the paint dry before applying another coat to the plastic chair. The number of coats you will need will depend on the piece of furniture itself and your own personal judgment. When you’re happy with the paint coverage, let the furniture dry for at least 24 hours before using it. Remove any painter’s tape after the paint has completely dried.
MBTIPS
Allow the project to dry. Different brands & finishes require specific drying times. Wait the recommended time before moving the project from the work area.
And there you go; you have officially remixed your plastic chair like a star! All in a day’s work.
#MBTIPS
- Choose a spray paint that’s best for the type of material you’re working with.
- Primer helps create a smooth surface for an even finish.
- Primers are good for uneven surfaces or surfaces you previously sanded down.
- Sandpaper is needed for surfaces like wood, or to remove rust from metals before priming and painting.
- Start with a rougher sandpaper then go to a finer one to smooth out your finish.
- Tape off any areas you do not want to get paint on or paint a different colour.